Finishing the cab and chassis
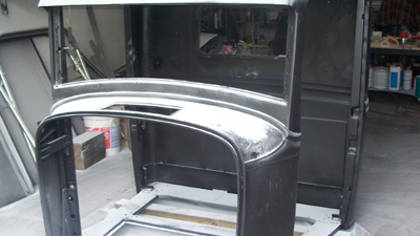
Similar to the doors, finishing the cab started with a layer of 2-part epoxy, several layers of body filler, and completed with a final layer of 2-part epoxy.
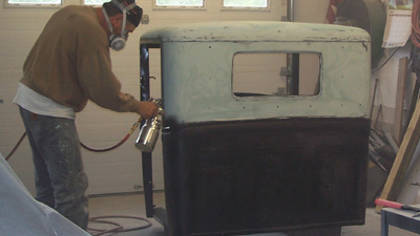
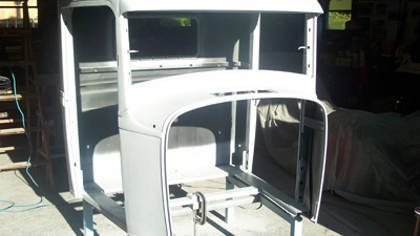
To paint the cab, the team fabricated a special stand to both keep the cab off the floor and to bring it to a height that allowed access to all sides, including top and bottom panels. Next, the team sprayed the cab with K36 sandable primer from PPG and went to work wet sanding it to a glass finish.
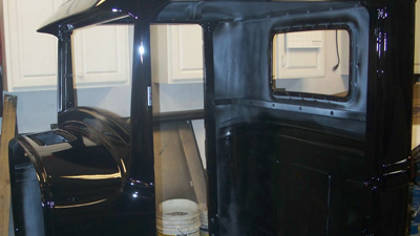
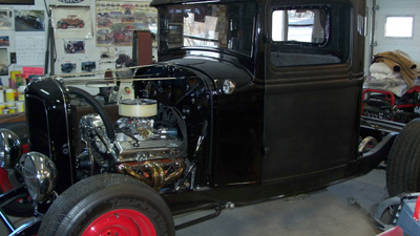
Now the cab was ready to paint. In preparing for the final coat, they meticulously cleaned the garage by dusting, vacuuming, and mopping the floors. As the team didn't have a down-draft paint booth, they utilized a large wall fan in the windows to establish a slight cross breeze to keep down the dust and fumes. Finally the cab was prepped and ready to paint. Using a HVLP (High Volume Low Pressure) paint gun, Skip applied 2 layers of DCC9300 (Black) from PPG making sure to keep the whole cab wet until fully covered and allowed to dry all together, reducing the chance of overspray and dull areas.
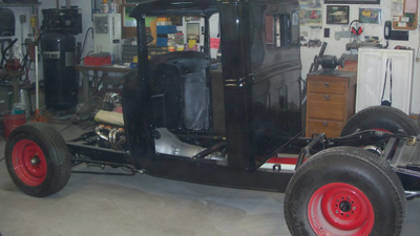
Completing the chassis
Before placing the finished cab back on to the frame, Clayton and Skip installed the gas lines, brakes, drive shaft from Speedway Motors, gas tank from Tanks Inc., and the exhaust system. To make sure that the exhaust pipes didn't show under the chassis, the team used a tube bender to fabricate a custom exhaust system, allowing for the exhaust lines to be run over the rear axle tubes. Check out those cherry bombs on the exhaust! Finally, the cab is attached to the chassis for good.