Finding the truck
The Goulds had set their sights on a pickup and began their search by asking if any of their fellow hot rod enthusiasts in the area was looking to sell a Deuce pickup. It took a few months before they were directed to Bob Cross in Post Mills, VT who wanted to sell the one he had sitting in an old barn.
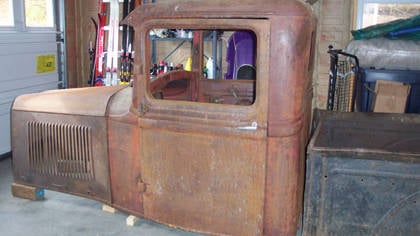
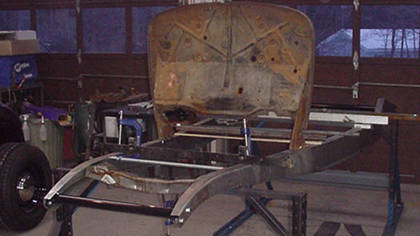
There it was, in a corner of the barn in Bradford, VT: a rusty Deuce pickup truck that was covered with decades of dirt and junk. The cab was sitting on the top of the bed with a couple of 2x6 wood planks for support. Most of the related parts were thrown into the cab. Even though the truck was in a pretty sad state, Clayton saw its potential and told the owner, “We’ll take it” and came to pick it up the next day on a borrowed flatbed.
Assessing the parts and pieces
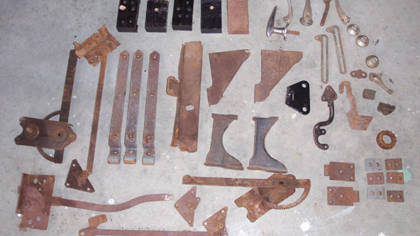
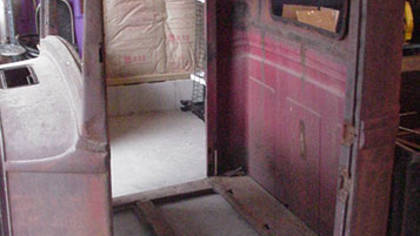
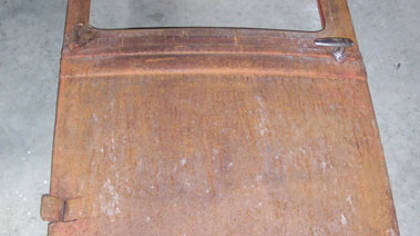
Once home, the Goulds started to take a serious look at what they had bought. Pretty much every square inch was covered with rust and dirt. One door on the cab had been sprung around, leaving a tear in the sheetmetal at the hinge and both rear cab corners were completely rusted out. There was a full complement of parts that came with the purchase, including an original (fully intact) firewall and gas tank that mounted under the driver’s seat. Additional items included door locks, window cranks, door hinges, door striker plates, tailgate hinges, windshield post trim and a complete cowl vent assembly.
Building the frame
To build the frame, the team bought new frame rails from American Stamping Corporation and front crossmember from Speedway Motors. They first bolted on the front and rear spreader bars and assembled the frame to make sure that all the parts aligned, there were no twists and sags, and the wheelbase was the required 106". To make sure they got all the right measurements, they got drawings from Wescott's Auto.
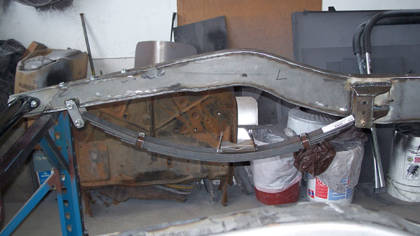
After several measurements, adjustments, and readjustments, the front cross member was trimmed with a Hypertherm Powermax30 XP plasma to ensure a proper fit between the rails. The cross member was aligned, then spot welded and finished off with a full weld after double checking that everything was aligned and square.
Then it was time to box the frame to close the C-channel. Again, the Goulds used their Powermax30 to cut out pieces from the boxing plates to allow the cross members to have a proper fit with the frame. To make sure there was no warping due to the heat from the welds, Skip attached the plates to the frame by welding 1" strips at a time and changing locations frequently.