Sandblasting the door openings
The team next chose to refocus their attention on the door. As they sandblasted the doors, the Goulds revealed additional areas of deteriorated metal that needed to be spot welded to fill the resulting pinholes. Once they were confident that they had removed all the rust, they sealed it with a 2-part epoxy primer DP90LF from PPG. Then it was time for a few layers of Evercoat Z-Grip body filler, followed by 80 grit and moving up to 220 grit. The goal was to keep the filler to 1/8 inch or less to reduce the possibility of cracking. Once the team was happy with the shape and texture of the body filler, the doors were sprayed again with the 2-part epoxy to ensure they were sealed from water. The doors were then hung on the wall of the garage to wait until it was time to take them to completion.
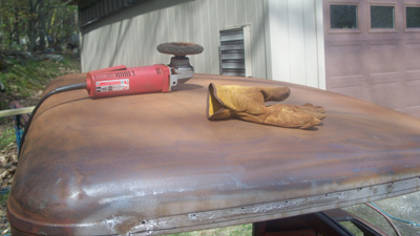
Sanding and patching the cab
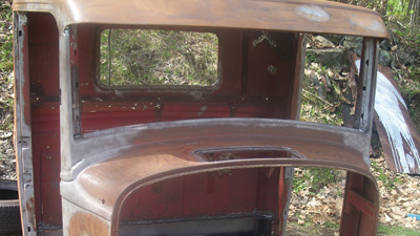
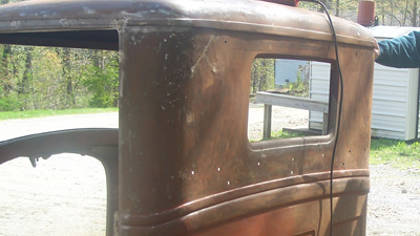
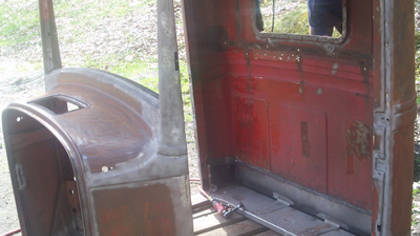
Skip and Clayton began the job of finishing the cab by using an abrasive wheel to get rid of the rust. They then chose to sandblast the cab instead of dipping it in chemicals to save on the cost of the project. Sandblasting was tricky as the process introduces heat and can warp the metal so they had to make sure they avoided staying in one spot for too long. The top of the cab had a lot of rusty pits in the metal that had to be cleaned out. The sheetmetal under the rain gutters needed extensive work after the sandblasting was done because they were almost entirely rusted out.
When they were done with sandblasting, there was a lot of patching and fixing needed to make it look like new again. A top priority was fixing all the popped seams from the straightening of the cab and Skip welded all the seams back together. On the back of the cab, the team relieved the metal where it had been stretched. Finally, the rusted out panels had to be patched. The team accomplished this by cutting out the deteriorated spot with their Powermax30, fit a new piece to the open area, and welded the new piece in place. One area that was particularly tricky - the front quarter panel on the driver's side - had to be cut out and a new piece inserted.